
Do you see photos on the internet and think that person must have the best, most interesting space to shoot in? Then, maybe do you look around your space and think you could never achieve photos like that?
I promise with a little DIY and creativity you can turn any small space into a set for gorgeous photos. In the examples below, very little investment was made into creating this set. The sheer fabric was off cut ends from Fabricland, maybe $40. I don’t even know how much of each colour I have. Enough to drape a couple times. The backdrop stands were an Amazon purchase. I just checked and found a stand for $56. Instead of a stand you could always thumb tack sheer fabric to your wall or hang from the ceiling. For a backlight photo, you could also tape fabric to a picture window.
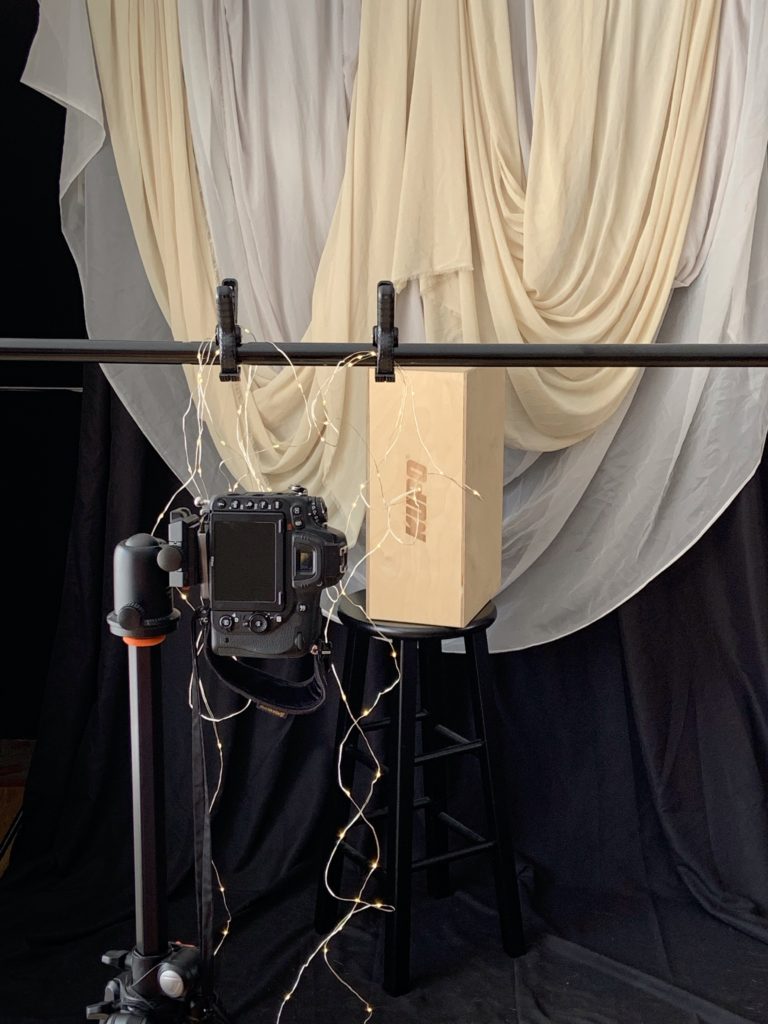
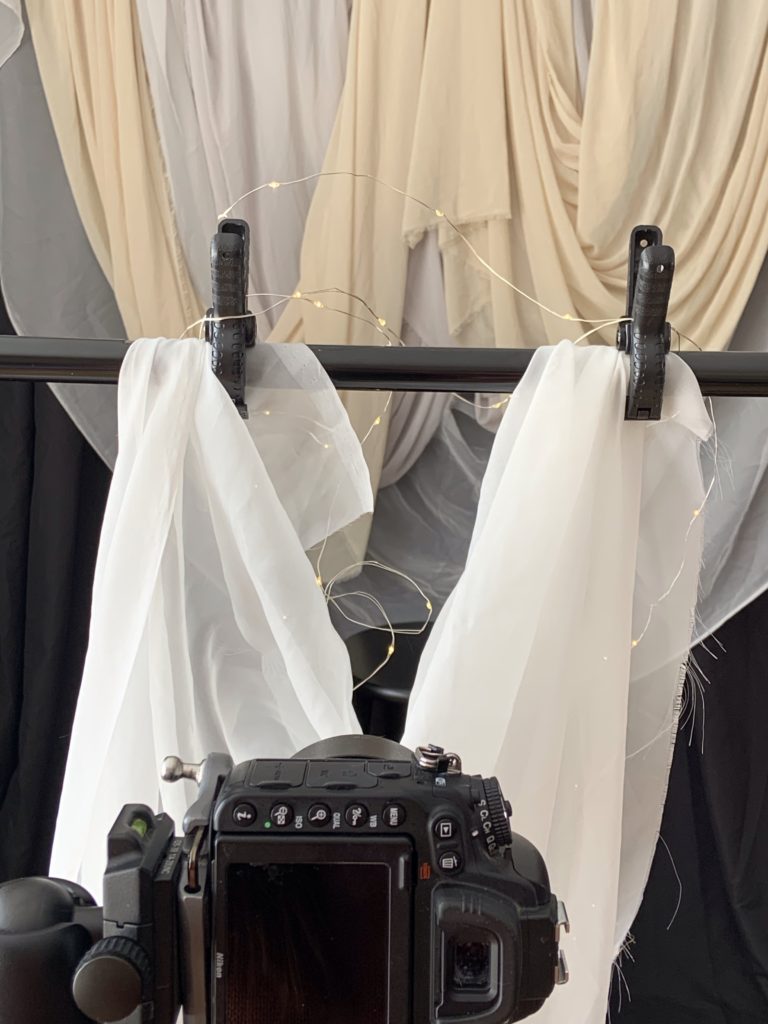
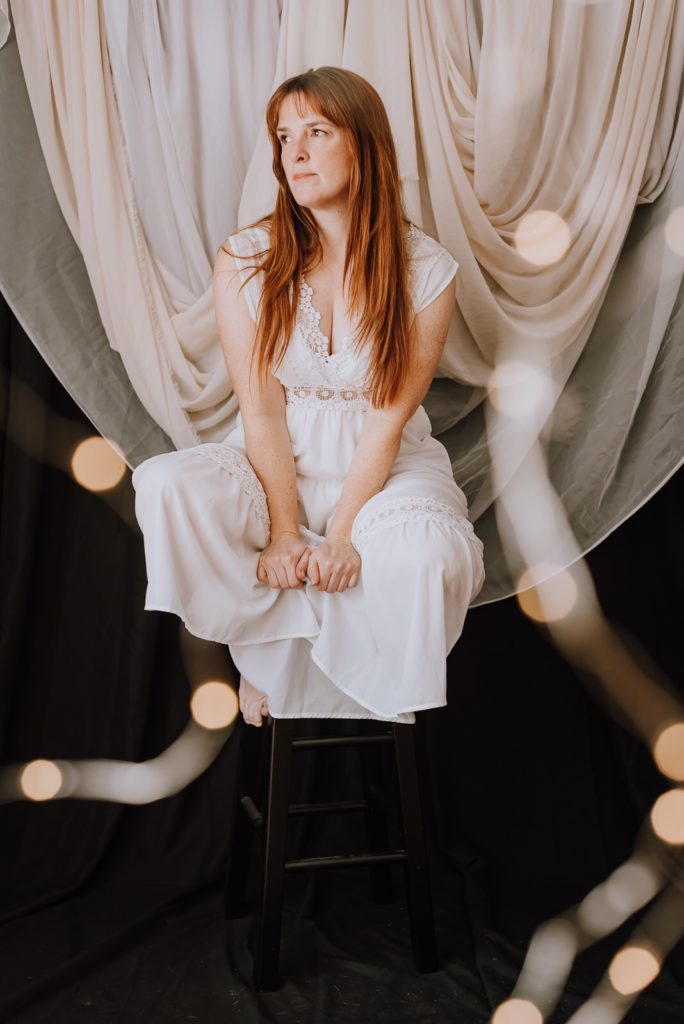
I used two backdrop stands for this set up. One for the actual backdrop and one set up very close to my camera to hang twinkle lights on as well as some more sheer fabric to shoot through.
Tips for blurring shoot through items
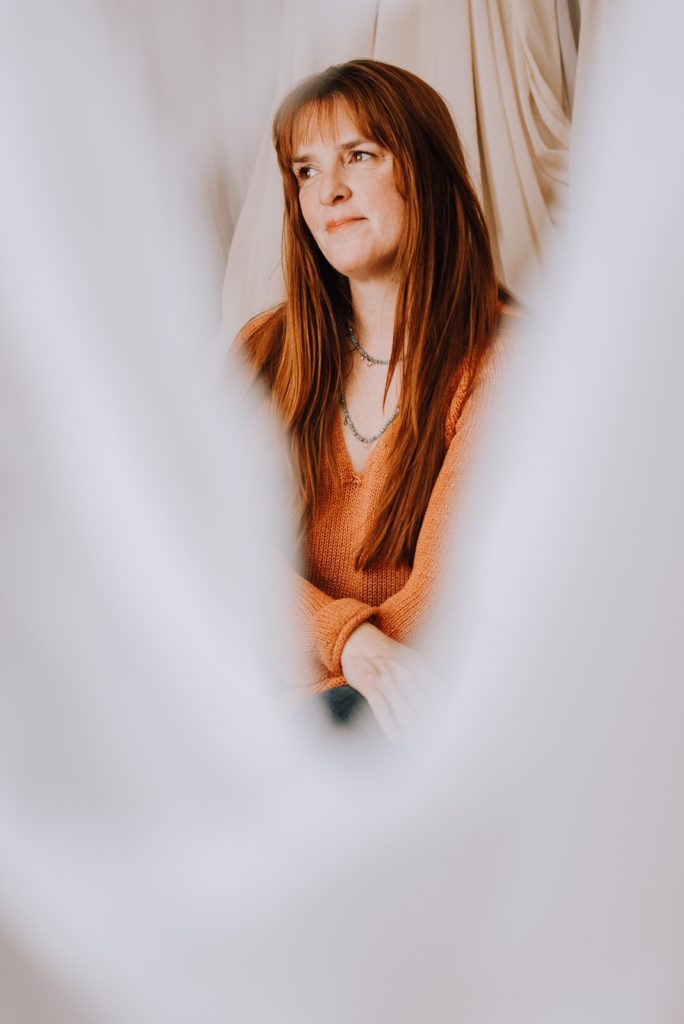
When you are using a wide aperture (small number in the f/stops, like f/2.8 or f/3.5), the closer the shoot through material is to the camera, the more blurry it will be. That’s the bokeh effect you may see mentioned by photographers.
Slight tangent on the technical stuff
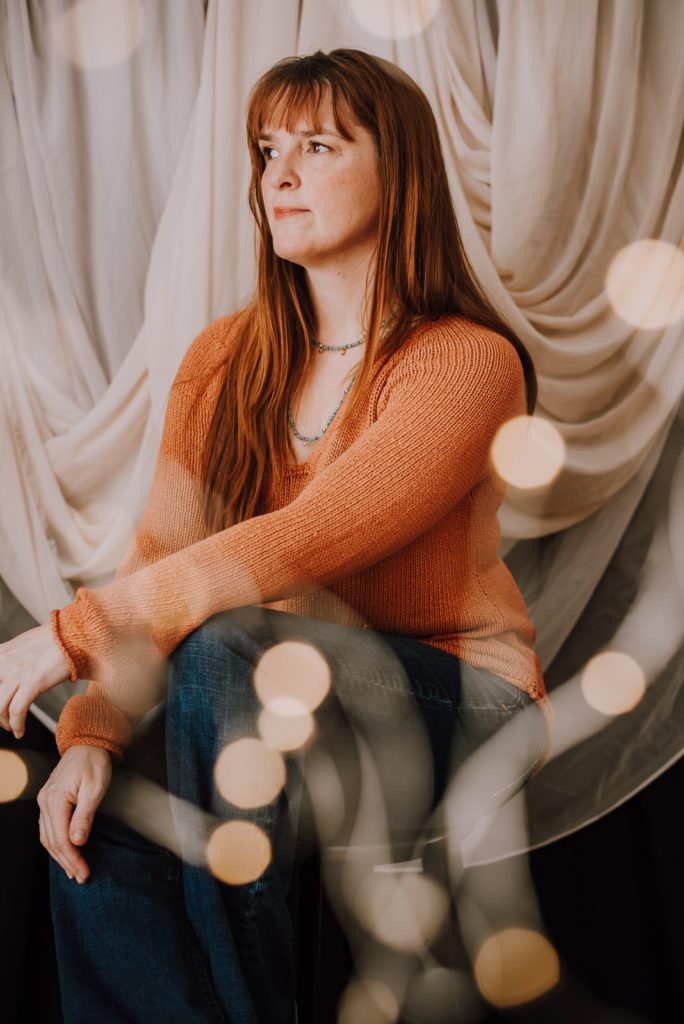
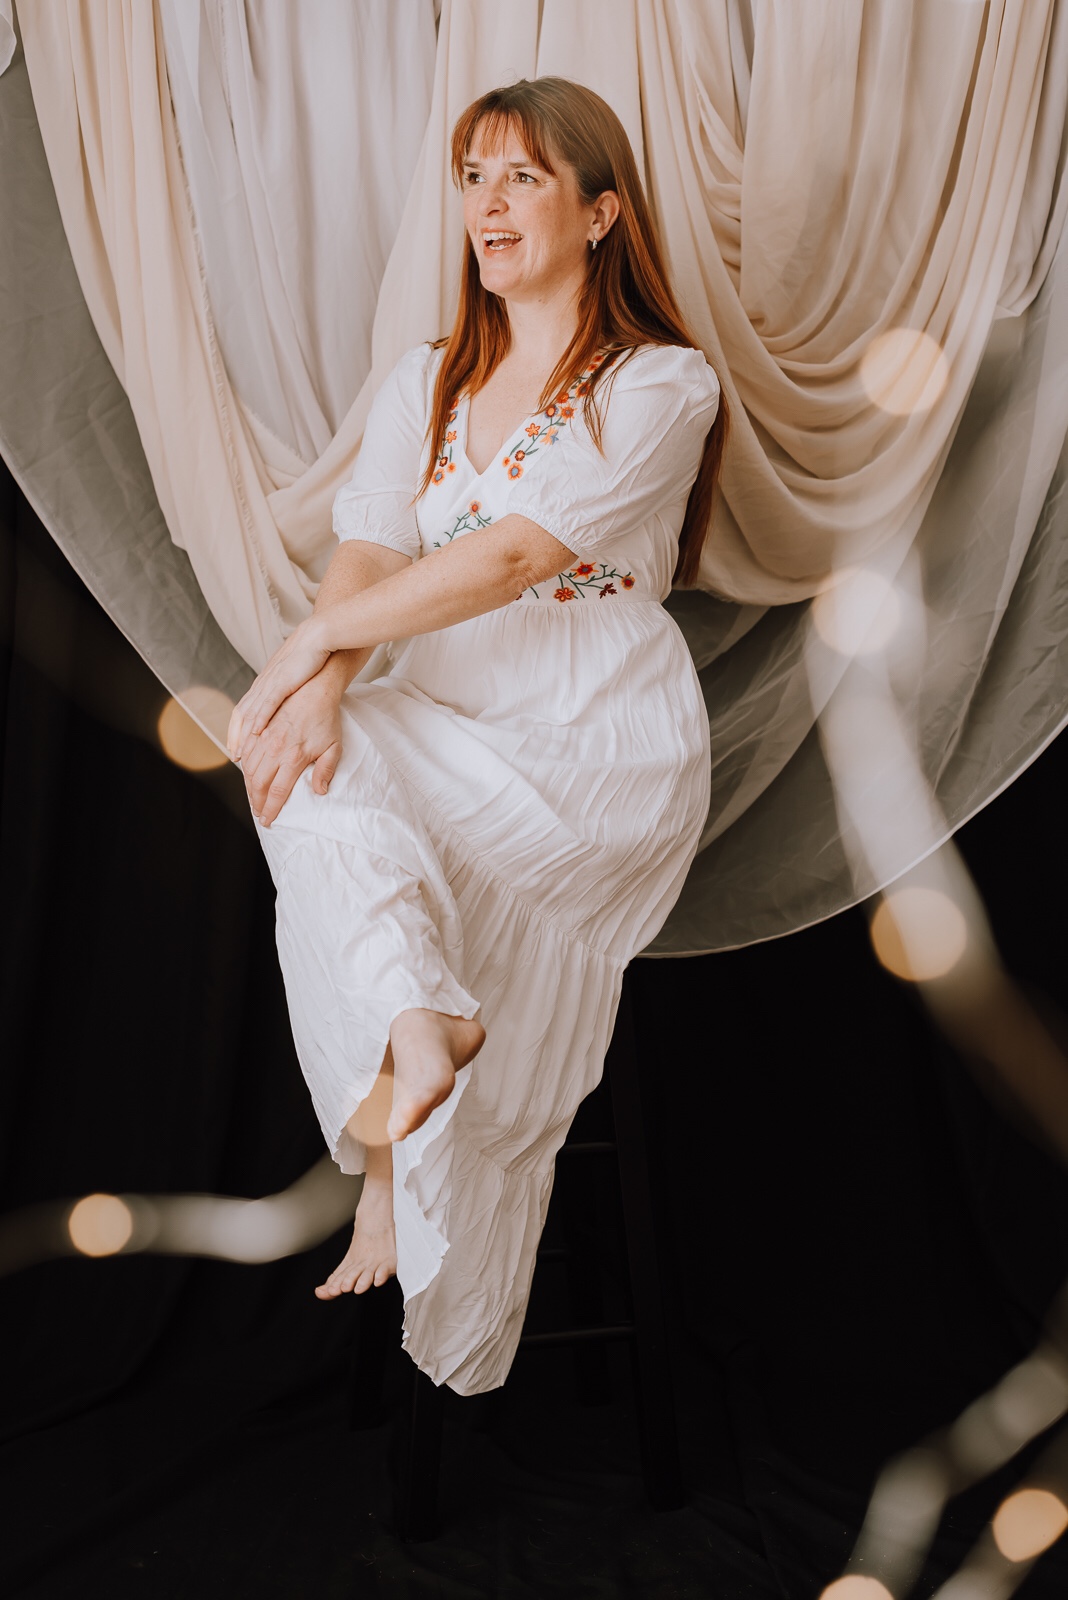
When you set your focus on your subject, the rule is 1/3 of the image in front of the subject and 2/3rds of the image beyond your subject will be in focus. The wider your aperture (lower number of f/stops), the less distance you will have for the focus area. This is also varied based on how far away your camera is from your subject also, not just how far they are away from the background or foreground. Focus and bokeh are things you really just need to play around with and practice. Below is an example of the twinkle lights blurred as they are close to the camera, creating awesome bokeh effect, and also for example purposes, I had a string of the twinkle lights close to my leg, showing them in full focus as they are on my focal plane (in line with me…the subject).

Back to the blurring of foreground items
I had the twinkle lights pretty close to my camera and because I was able to look through the view finder with my camera on a tripod, I could see the bokeh or blur effect even before I snapped a photo. This allowed me to adjust the distance of the backdrop stand closer to and further away from my lens to get the bokeh I was looking for. Also, the twinkle lights are strung on a wire, so I could bend the lights to frame the subject (me in this case), so no lights were directly on my face or hair. They create more of a vignetting effect around me. This creates visual interest and more soft and glowy photo. Really? Glowy isn’t a word? You know what I mean.
When I first started creating self portraits, my aperture was quite different. I started around f/4.5 or f/5.6 to ensure I was in focus. With practice, I got better at using a prop to focus on and getting myself into that exact same “prop spot” to ensure the focal plane captures my face and eyes. My body and definitely the background can be soft, but soft eyes, in my opinion is a throw away photo.
Because of the rule of 1/3 in front and 2/3 beyond for focus, you have a much better chance of catching focus with a higher number f stop….the downside to f/stops 4.0 and up, is you lose the softness of the foreground and background and the subject wont stand out as much from the background/foreground. It’s all practice and preference.
Ok, enough of the heavy technical stuff. Once the backdrop was set up, black backdrop (can easily be a dark queen size bed sheet from Walmart), I ensured the window behind the backdrop was covered up. A dark towel hung by push pins works perfectly. This way no light comes through the back drop. That can easily either ruin a photo completely, or your life will be agonizingly spent in PhotoShop fixing it. Try to get everything right in camera if you can. SOOC is the acronym for Straight Out Of Camera. This will drastically reduce editing time and give you a HUGE sense of accomplishment. The details matter. Every time.
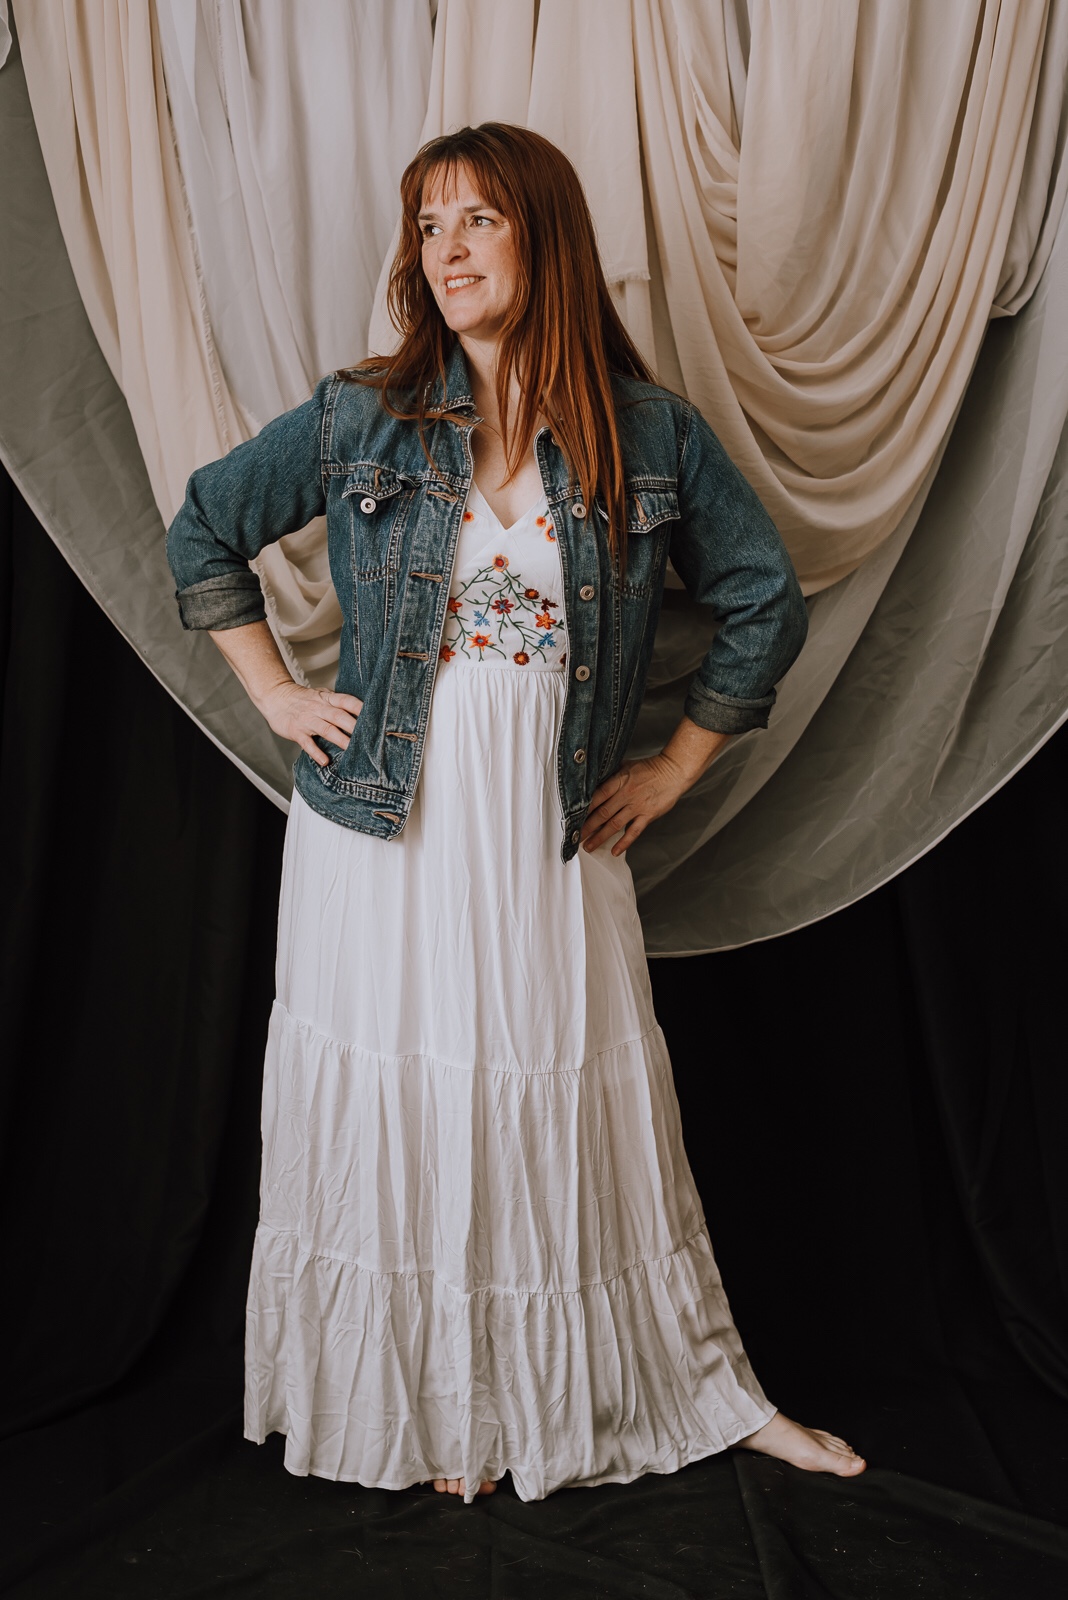
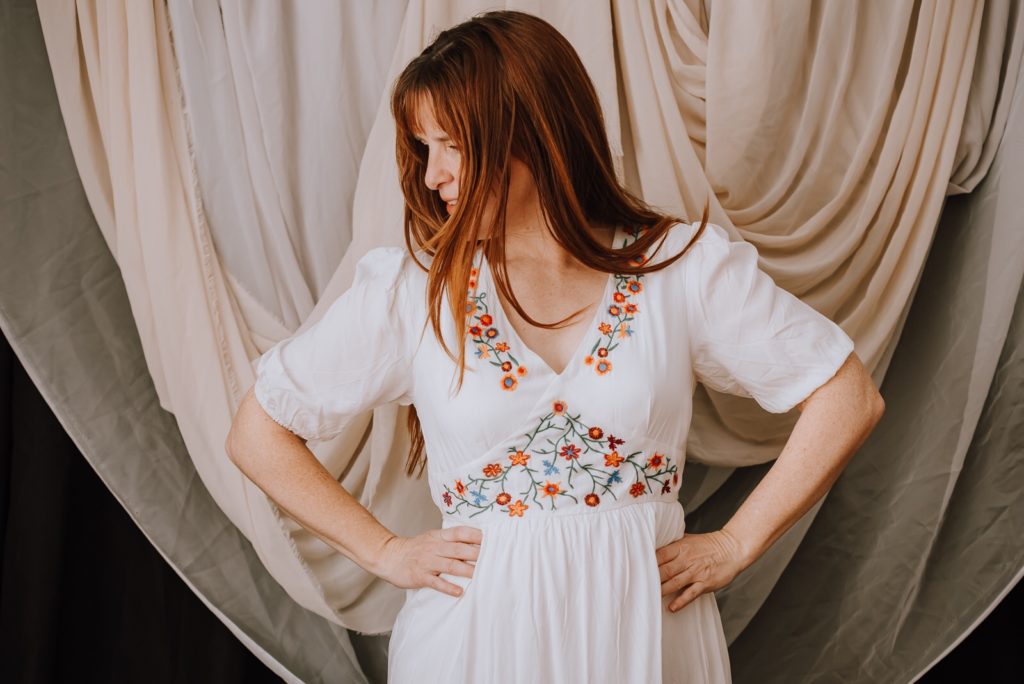
If I’m being perfectly honest, the lighting and events of the day made this a perfect day for Self Portraits, but I wasn’t feeling it on this inside. I tried my best with multiple outfit changes, but my expression I feel lacks interest and authenticity. I was going through the motions, trying the twinkle light set up. I like the images I was able to capture, but I wouldn’t say I love them. There is always a lesson to be learned in every situation. Maybe if I had curled my hair, I would have been able to get my head in the game…not sure. Either way, try to give yourself grace to practice and learn different set ups and if that’s not the day for joyful and authentic expression…go for lighting, posing and technical specs instead. #alwayslearning


[…] DIY Studio space […]