
Want to take your photos from decent to good, or even good to great?
There is so much more than a high end smartphone with a “good” camera, when it comes to taking great photos.
I’m sure you have heard it be said…your photos are really great, you must have a really good camera. A lot of great photography is a reflection of the skills of the photographer, not the quality of the camera, or the amount of gear a photographer has. It is the eye of the photographer that is responsible for the final image. While good gear and high quality lenses can make a big difference, amazing images can be captured on a cheap camera or an entry level smartphone.
Stick with me, and I’ll show you how.
Step 1 for taking your photos from good to great
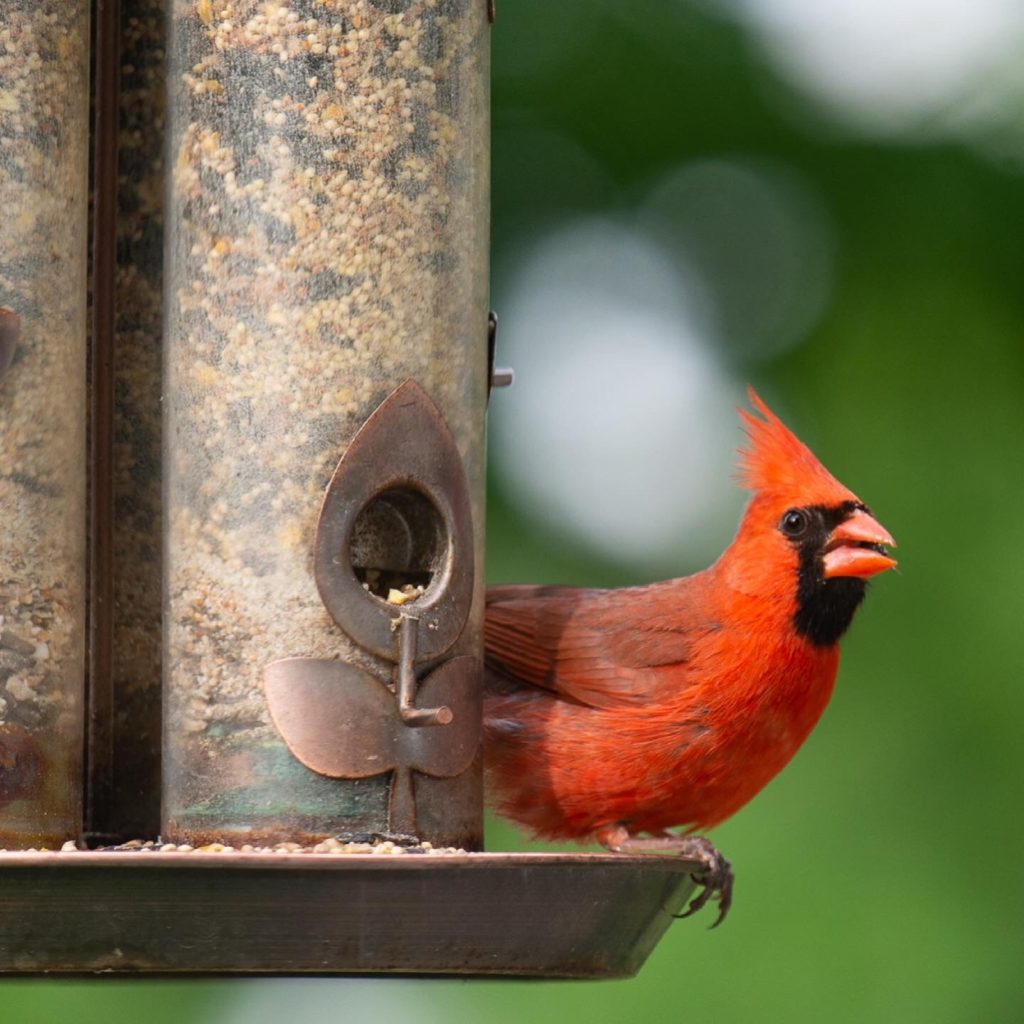
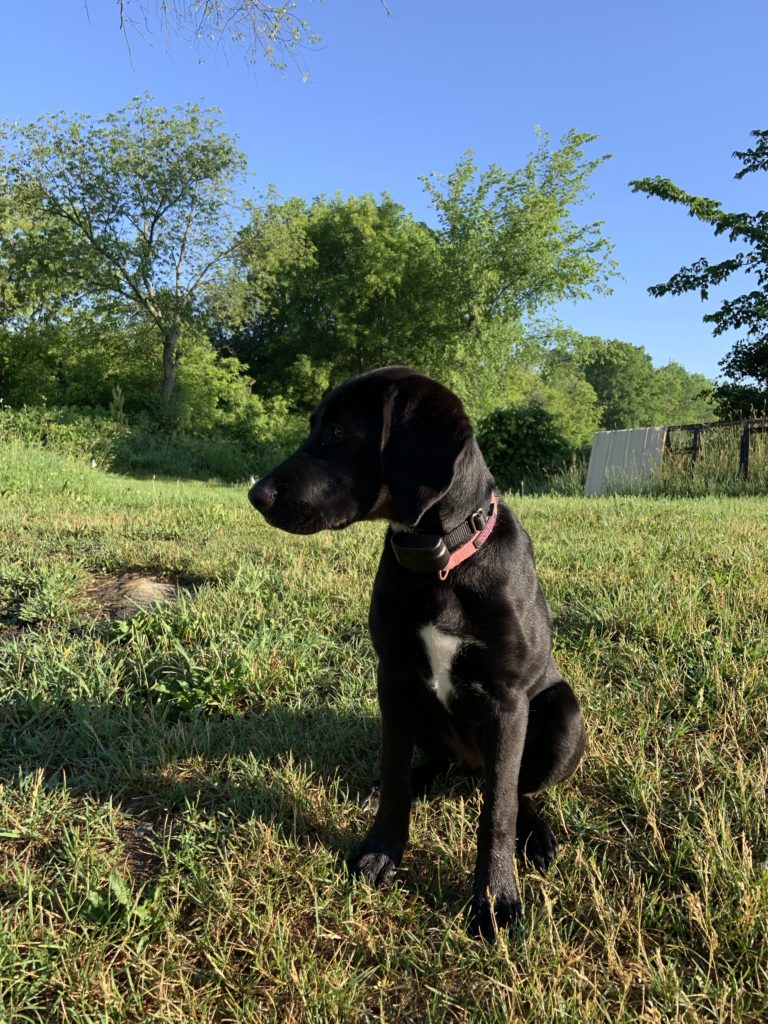
Look around. Find something interesting to take photos of. When I am not taking photos of myself or other women, I’m mildly obsessed with my bird feeder and all the birds that come to it and my flower garden. Typically images capture someone’s attention, when the image creates or inspires some kind of emotion. Maybe someone feels relaxed looking at images of your birds, or your flower garden in bloom. Maybe you have taken images of your garden in all stages of bloom and your audience is excited to see your flowers blossom.
The beauty of photography is, it’s an art. The beauty is in the eye of the beholder. If you see something as beautiful and photo worthy, it’s up to you to show your audience what you see and why.

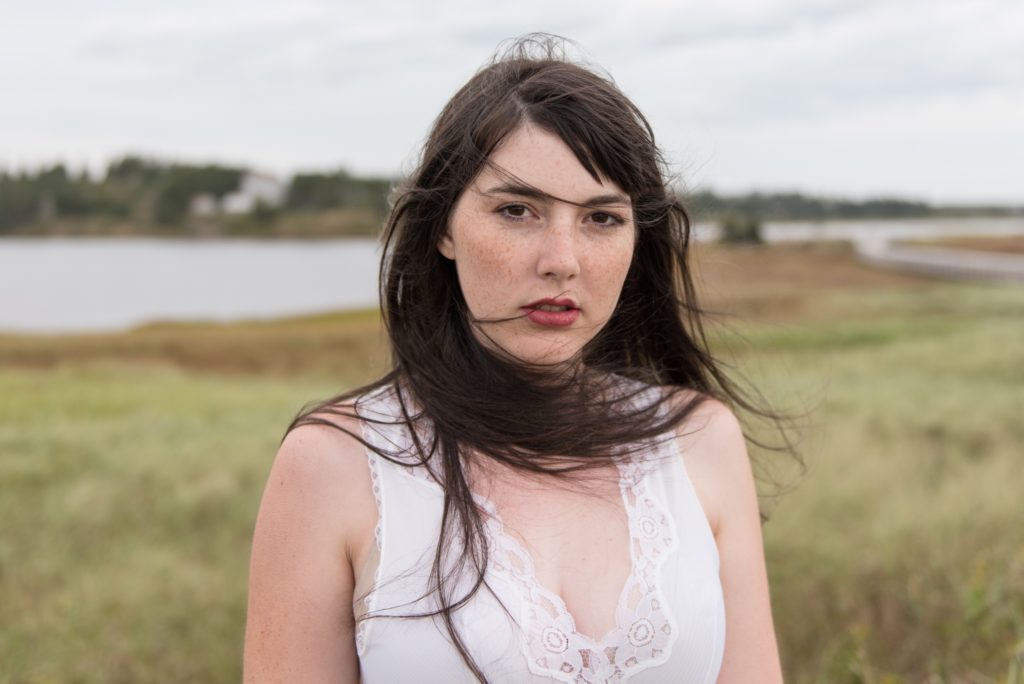
For me, I like non-distracting images. Typically I prefer a simple composition with not a lot of competing things in the images. For example, for flower images, I don’t take a lot of pulled back shots where you see a multiple variety of flowers in the same shot. I will take a couple to frame the situation, but I usually will focus on one flower, and even one blossom at a time. This creates more interest and focus as your mind is very clear on what the photo is of. Landscape or architecture photography is a little different, as there are more elements in the image, but there should still be an obvious subject in the photo.

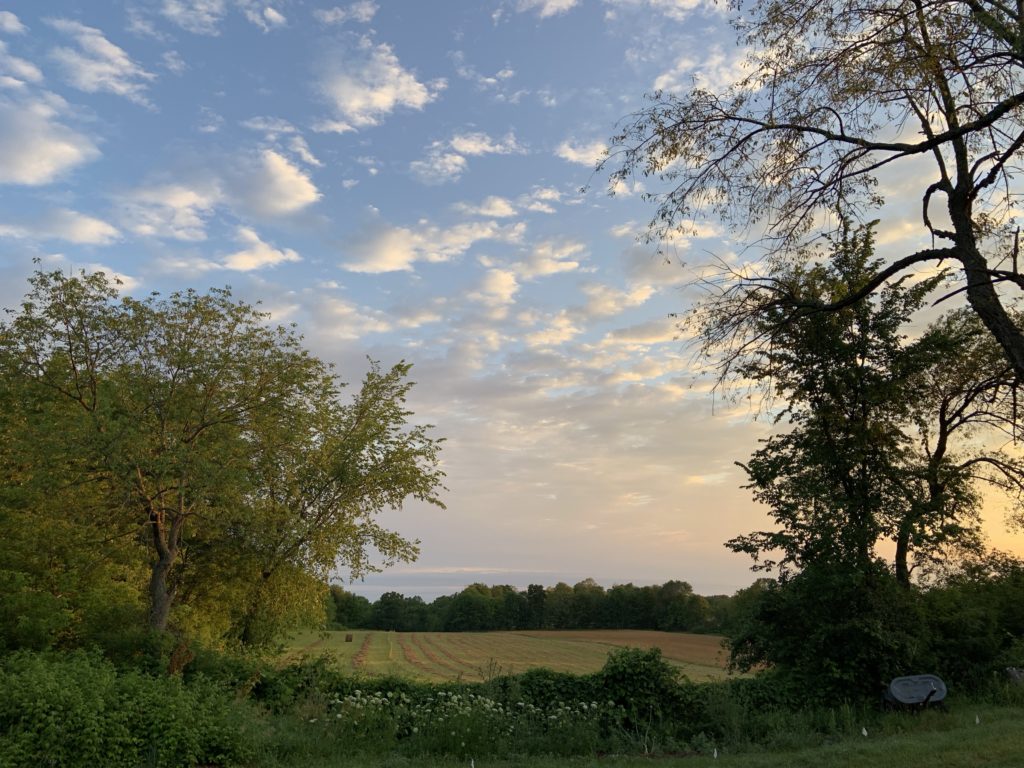
If it’s an architecture image, maybe you focus on the cool fire escape, or the window shutters or the front step. For landscape images, maybe its a silhouette of trees, maybe its the sunrise or sunset, or it is bales of hay in a farmers field with the sun wrapping around them.
Whatever you take a photo of, it should be obvious what the focus is.
Back to my birds, as an example. I usually take a close crop where it is the bird only, or maybe the feeder also. Including the feeder gives the audience a story to unfold in their mind. They can picture the bird nibbling at the seed or resting on the feeder. I use a shallow depth of field for my aperture (shooting wide open), or simply put if you have a dSLR or a smartphone camera that allows you to shoot on Manual mode, that would be a low number after the letter “f” in the settings. More details on Aperture or f/stop in a future post. This one isn’t about camera settings, it’s about what to look for to start creating good to great images. Check this post if you want more tips on camera settings.

Step 2 to bring your photos from good to great
Composition. As you take more photos, and become aware of why you are drawn to other people’s photos you will notice they will have a common theme. How the subjects are displayed in the frame matters. I think we have all been on a video call over the last 15 months, where someone’s camera is showing their head with no neck. All head and lots of empty space above their head. Our mind is confused by this immediately. Where is this persons neck? Humans have necks, where is their’s? What is that photo on the wall behind them? Why didn’t they make their bed or put their clothes away?
I know you are nodding your head, as we have all been there. It’s distracting and almost confusing when composition isn’t intentional. Almost every camera these days, (smartphone or dSLR has the ability to turn on the composition grid). Three vertical lines and three horizontal lines. These lines are a cheat sheet for those working on intentional composition. ALL rules in photography are meant to be broken AFTER you understand what the rules are and why.
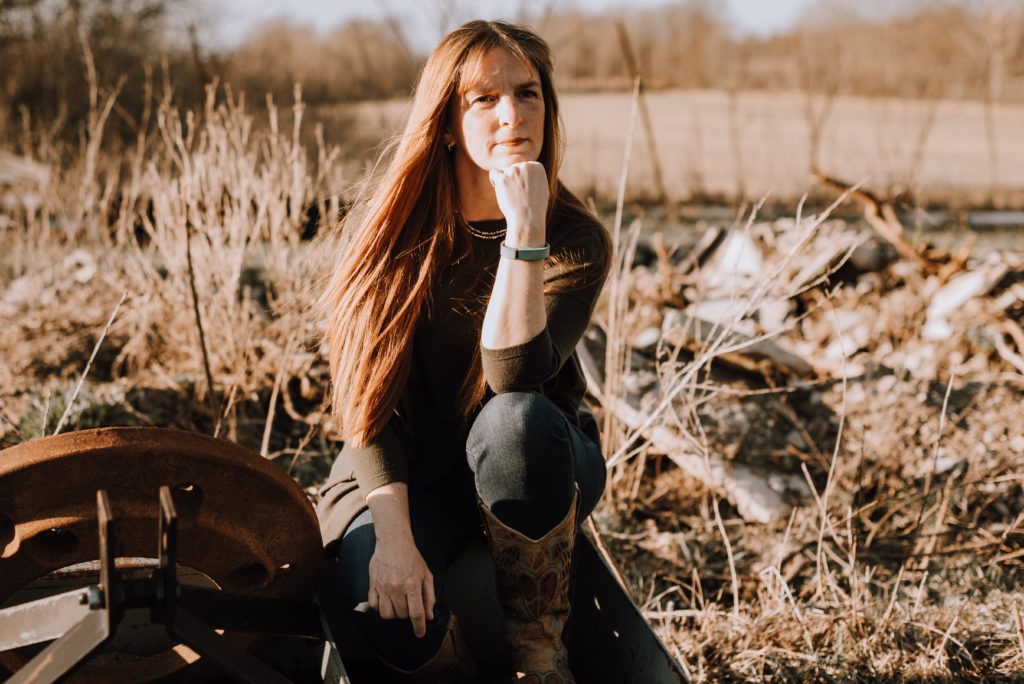
If you are taking a photo of a single person, ideally you want their eye to be where the vertical and horizontal line intersect in the top third of the frame. Left or right, as long as it’s in the top third. If it’s a couple, then you want to place the two of them on either side of the vertical line on either left or right of the frame. Again, keeping their eyes in the upper third. Keeping their eyes in the upper third, helps you to not chop off their bodies and show too much free space above their head. (More about chopping off body parts in another post…I hope that sentence doesn’t make my google search engine optimization stats for this post, LOL).
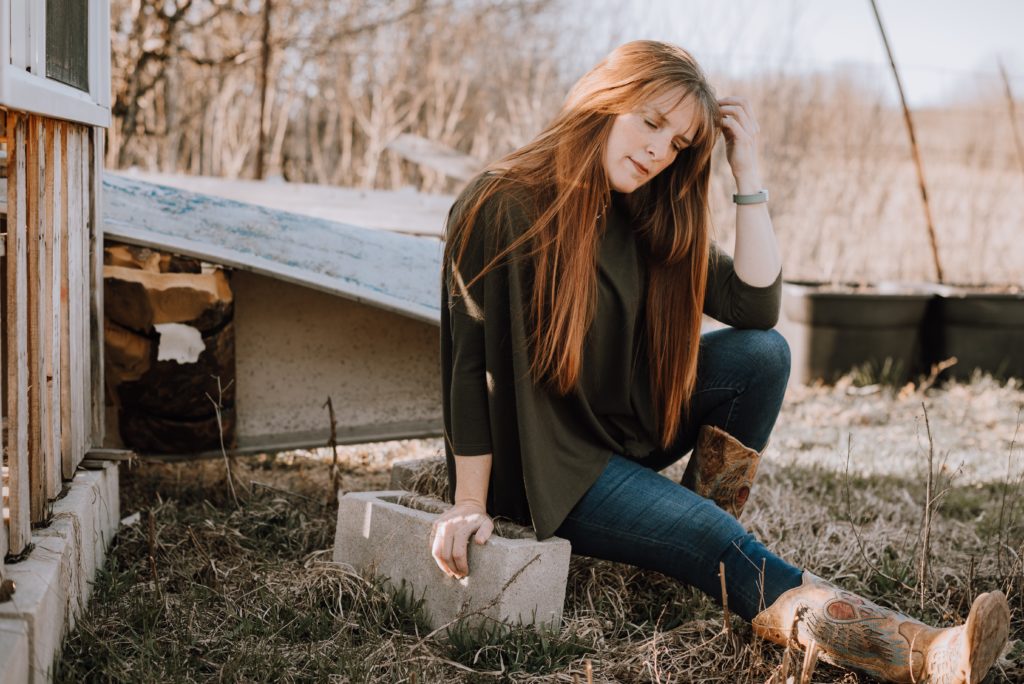
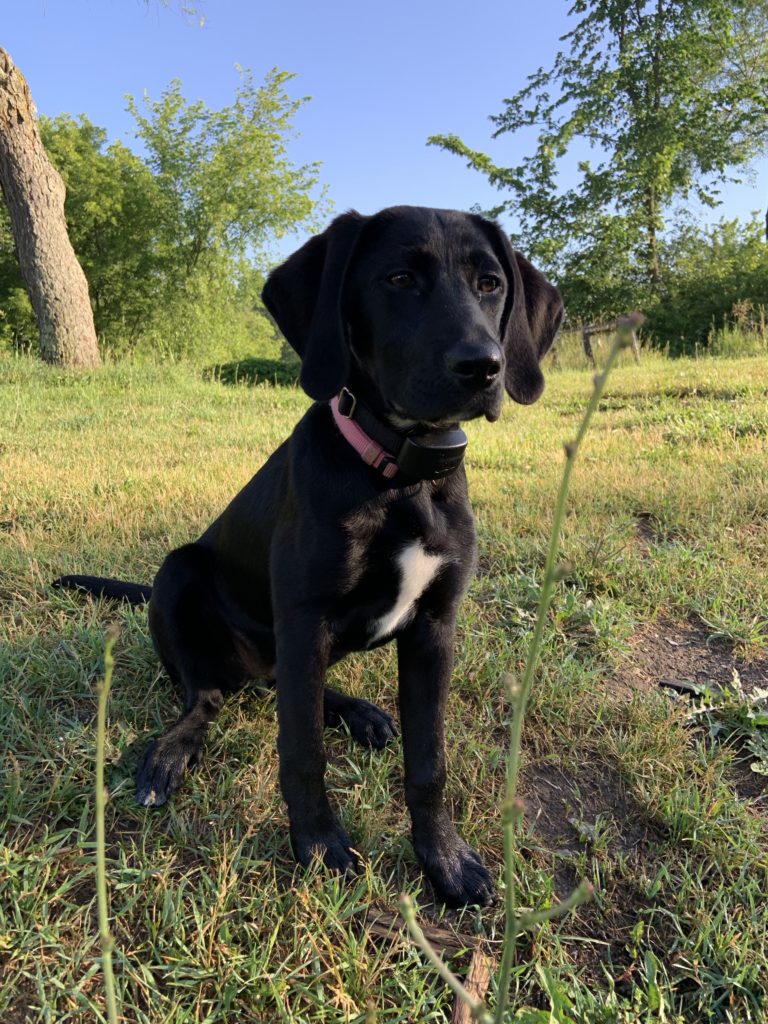
Last tip for now on where to place humans in the composition grid, is to be intentional about where they are looking. If they are looking off to the left at something, don’t line them up with the left vertical line…Let the viewer follow their gaze left and show us what your subject is looking at.
I should also mention, there is nothing wrong with placing humans in the centre of the frame if you have a symmetrical image and making them front and centre makes sense. Example, a bridal party of 4-8 people. It would probably look weird if all the people were off to one side of the frame and there was nothing to fill the other side. How to use the composition grid is absolutely personal preference, but knowing how to use it, will make you a more creative photographer when you are “breaking the rules” on purpose.
If you are taking landscape photos and it’s a gorgeous sunset, you will want the focus of the image (the sunset), to be the top two thirds of the image, while the horizon only the bottom third. The Lake may be beautiful, but if you put the horizon line of the Lake vs the sunset smack dab in the middle of the frame, the viewer will be confused on what the focus of the image is. Be intentional.
Step 3 for beautiful images
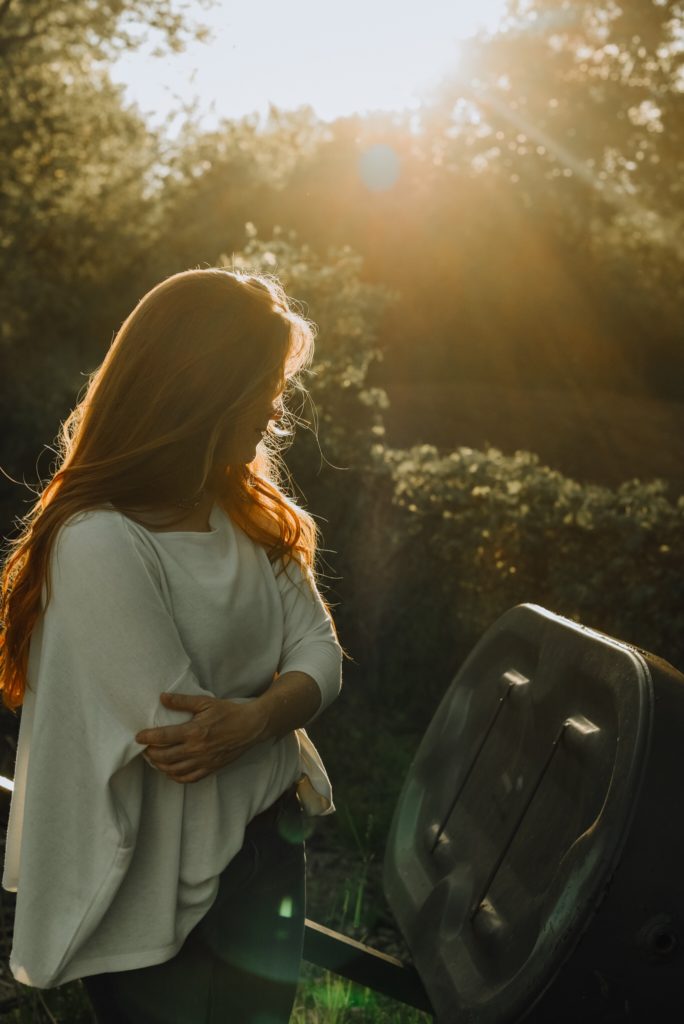
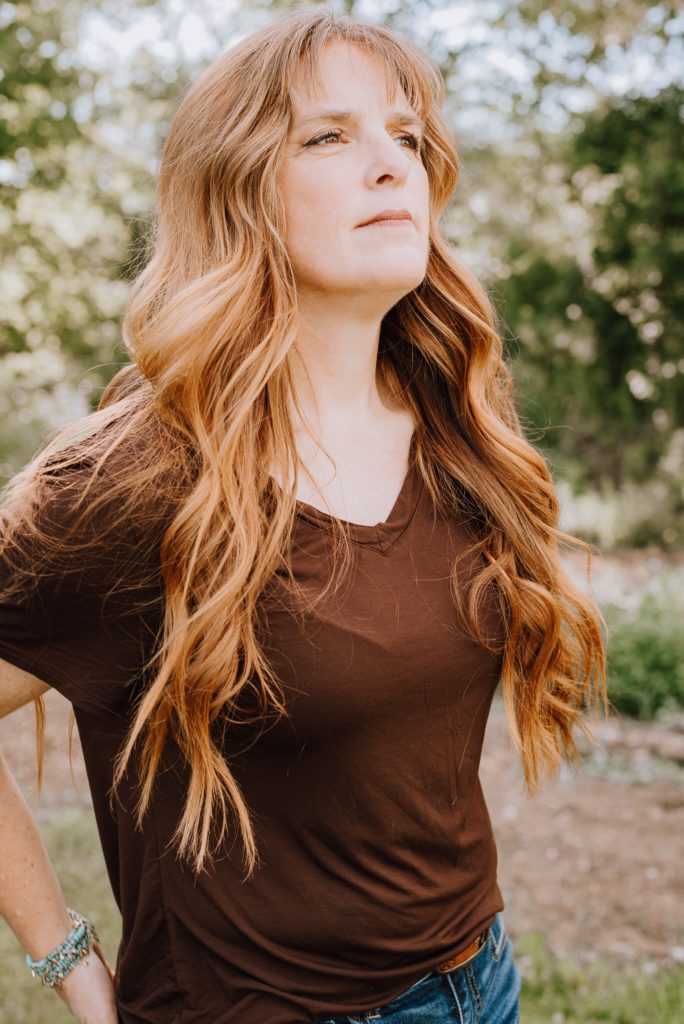
Lighting. Photography is all about light and shadows and how they interact in the images. Light is no question, in my mind, the hardest thing to learn how to see. It’s also a difficult component to explain. I’ll try a few examples. Have you heard the phrase “Golden Hour”? This is typically the two hours before the sun sets over the horizon. The sun casts soft golden shadows around everything. You get similar sun wrapping of light around sunrise, although your window of opportunity always seems to be much quicker for the soft golden light. Now compare that soft warm glow, to mid day sun that is blinding and casts very dark contrasting shadows, vs where the sun is shining bright.
Shadows are good, as they create definition and dimension, however, shadows and bright sun on the subject at the same time, can also create a very confusing image if the shadows aren’t intentional. Your eyes will always go the brightest spot on an image. Don’t believe me? Flip through your phone gallery and test it. You eyes will first notice a brighter or lighter part of an image so the shadows need to create a journey for the audience not a dance party of light and dark that’s distracting.
For this reason, if you are taking photos of anything, especially using sunlight as your light source, you want to try and put your subject somewhere where there is even light all over the subject and also in the background. Even light on your subject and then a bright background that isn’t consistent to the light on your subject, will automatically pull your eyes from the subject and onto the background.
Moral of the lighting story is, your subject should be the highlight of the image and therefore be the lightest part. That doesn’t mean bright sun on your subject and shaded background. It means you need to control the light on your subject so it’s consistent and not distracted but other light sources all around. If you are taking photos of people, you want to ensure they have light in their eyes…again, I don’t mean sunlight directly on their face, but ensure you capture a twinkle in their eye by facing them towards the light source (without being directly in it and squinting).
For now, are you are learning to see light…look for the shadows. Look for where the shadows intersect direct light and how that impacts what you are looking at. If you can’t control the height or intensity of the light source (the sun in most cases), they you as the photographer need to get up and move around. How can you place your subject in such a place where the light is complimentary for a beautiful photo? Facing the sun in the middle of the day doesn’t make sense. You will get all the squinty faces and nasty shadows cast by noses and eye sockets. turn your subject, move yourself. Get up higher, get down lower…move around and look at your subject through the camera. When is the light spreading over them in a complimentary way?
Lighting will take a LOT of practice before you can intentionally seek to break lighting rules. Get out there and play around. Something you can’t control but should definitely take advantage of, is an overcast day. Natures natural diffusion to prevent harsh sunlight.
More on diffusion and how to modify light another time.
For now, these three things should give you lots to train yourself to be aware of as you start your journey from taking good to great photos.


[…] Start here to learn a little more […]