Whether you are a budding photographer, have been in business for a few years or are just thinking of buying a camera and trying your hand at the creativity of photography…this blog post might help get your creative juices flowing.
1. Invest in yourself
Invest in yourself. Recognize when you want to learn, and invest in a mentorship, a membership or even a one-off course specifically on what you want to learn. This can get out of hand quickly, however, and you could be buying all the courses and supporting an endless amount of mentors…but not getting further ahead. I definitely recommend one to two very specifics things you want to learn and start there. Then practice, practice, practice until it’s time to dive into another program/course.
If you plan to start your entrepreneurial journey as a photographer, then you need to look at courses, programs, mentorship that will help you make money…so you can afford the courses to continue to grow your craft. When you are seeking these next level mentorship type memberships, research the heck out of your short list of photographers you want to learn from and really dig deep into their photography style, their online presence, how they interact online, do you vibe with them? Do you have things in common with them? Although you many never meet them in person, it’s still critical that you enjoy their online company and relate to their style.
A hobby or a business?
Don’t spend all your savings on education, if you aren’t going to practice what you learn, create and execute a plan to put the learnings into practice. Be honest with yourself. If it’s a hobby and you are learning simply for fun, look for free resources on the internet. Ang McCabe, based on Vancouver Island, is amazing for all her free resources on her photography page. If you share a similar vibe as her, definitely join her FB Group. It is one of my favourite places on the internet. She also has freaking incredible online courses that are more in depth to her free resources (I think I have all of them, and they are all gold).
If you are looking for more of an investment to help you learn to move the needle with your photography business, there are two other ways to get yourself some excellent online learning. You can subscribe to a monthly or annual membership, where the creator is consistently adding new valuable content, or, you can purchase standalone individual courses. Both of these allow you to learn at your own pace. For monthly membership style of learning, I definitely recommend Marissa Boucher, a Boudoir Photographer based in San Diego and Nashville. For annual membership, The Portrait System powered by Sue Bryce can’t be beat. For standalone quality courses, Amy and Jordan Demos are #1 in my books (they also light up my IG with their beautiful family and values).
2. Learn how to use your existing gear
Before you head out to your local camera store and buy yourself all the top shelf gear and gadgets, learn to use what you already have. You can make gorgeous portraits with natural light and a kit lens. You don’t need all the artificial lights and modifiers or the $2,000 lens. Learn what you have.
Manual mode is a must
Get yourself onto manual mode as fast as you can and learn what ISO, Aperture and Shutter Speeds do. Learning this Exposure Triangle, will make you more creative, give you more control and level up your confidence, I promise….it’s worth it. Learn how your camera takes photos at EVERY f-stop and what changes as you put your subject closer to and further away from the background. Then repeat that by moving where you are in relation to your subject.
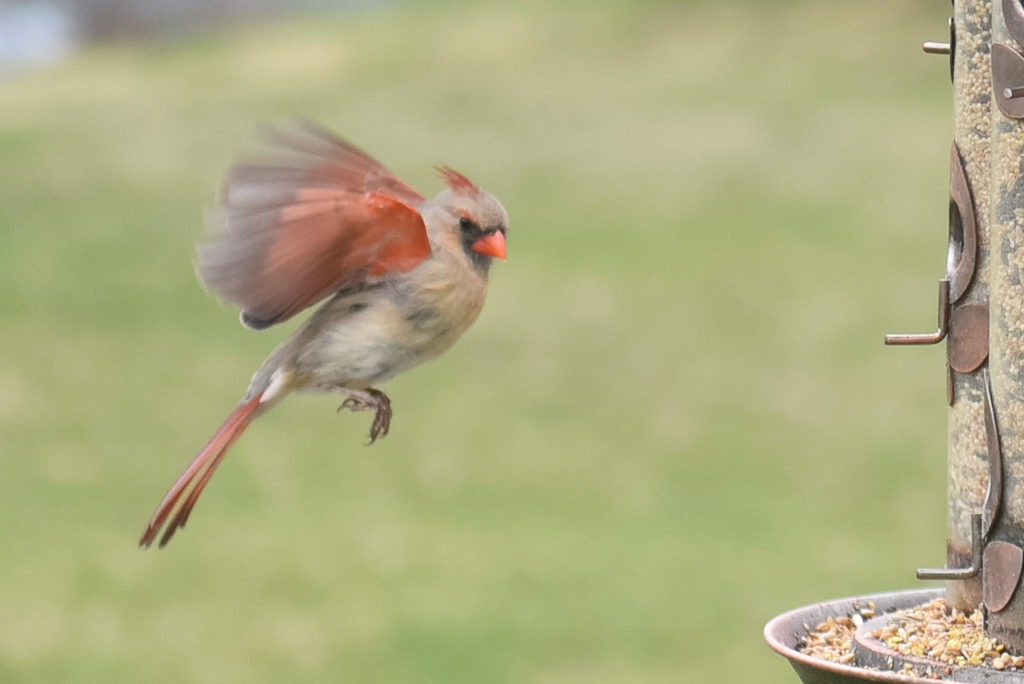
Learn to take photos of moving subjects, still subjects, objects…all the things. This is the best way to learn how shutter speed will impact moving subjects (like birds or waterfalls). Learn how to blur the background as best you can with the f-stop settings your camera lens has.
Back Button Focus. Another must.
Back button focus. This Is A Must for me. It allows you to give a specific finger control over focus (my thumb uses the AE-L button on Nikon to focus) and your trigger finger only needs to snap the shutter. This changed the game for me. You can google how to set back button focus on your specific camera model. Try it. If you don’t like it I would be extremely surprised. Feel free to drop a comment and let me know what you think.
Play with your white balance settings. I shoot mostly in shade mode…it immediately warms a photo up, which is typically in line with my editing style. If it’s too warm, I can always adjust in post processing.
3. Look for the light
Get your butt out of bed early and play around in early morning light. You always hear about the magical Golden Hour (2 hours roughly before sunset), but did you know the first hour and a bit after sunrise is just as badass? It’s softer, more glowy than harsh, bright, high mid day sun.
Watch for cool shadows and decide if intentional shadows will create interest and emphasize the vibe of the photo. Alternatively, watch for shadows to be sure they don’t impact a photo negatively. You really don’t want a shadow or sun spot directly on your subjects face. Remember, the lightest spot in a photo will drawn your attention first, so be sure there isn’t a highlight that draws your viewer anywhere but to the subject.
If you are taking a photo of people, you don’t want them facing the sun directly because they will be all squinty and uncomfortable. If you can, position your subject at a 45 degree to the sun to reduce their squint and give you a fighting chance for sharp focus and good exposure.
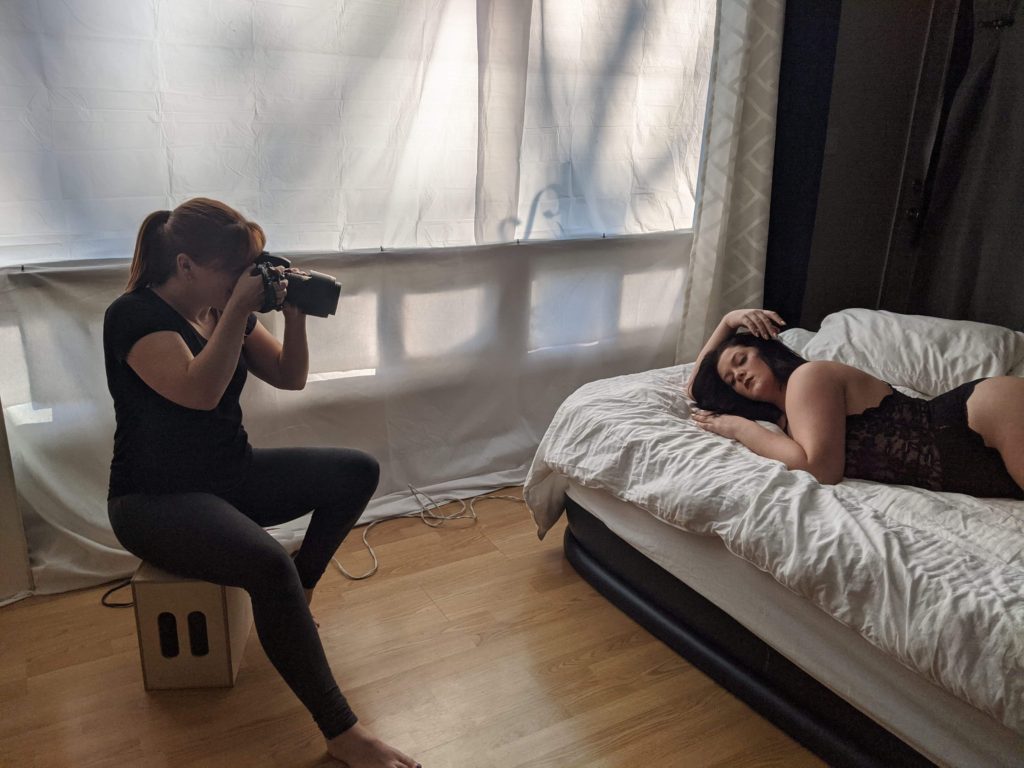
If you are a product photographer, look for indirect light that is diffused. Don’t overthink diffusion. It’s just a fancy way to explain that you don’t want direct sunlight overexposing your subject. If you can put a diffuser between your light source and your subject, it will make a softer light with less harsh shadows. Again, you don’t need all the fancy gadgets to get started making gorgeous images. I use a white dollar store shower curtain liner on my living room window to diffuse light when I set up my living room as a photo studio.

Play around with reflecting, diffusing and absorbing light. Black fabric or black craft board will absorb light and help create shadows when there aren’t any. Bouncing the light from the sun or light source back into your subject will add more light to your subject. Diffusing is simply to soften the light hitting your subject by putting some kind of diffusing material between the light source and the subject.
4. Composition. Know the rules before you break them
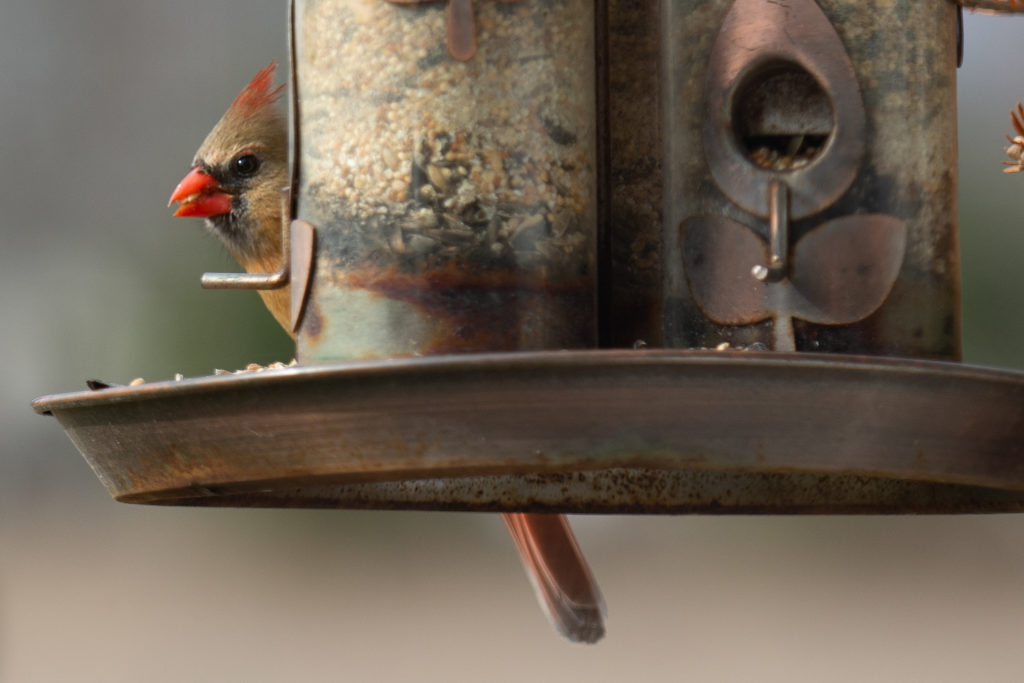
If you aren’t familiar with the rule of thirds, give it a google. Putting your subject in the left third, right third, upper third or lower third adds more visual appeal than using the centre as the main focus, every time. There is definitely a time and place to put your subject dead centre of the frame, just not every time. If your subject is looking to the right, the “rule” would be to place them in the left third, giving them an opportunity to have a look that goes off the frame with more visual appeal. I love photographing the birds at my feeder and always try to compose them giving them space to “fly off the frame”.


If you are a product photographer, or want to get better at photographing details, in my opinion, less is more when it comes to the items in the shot. You don’t want so much clutter in the frame, that the subject isn’t obvious. Also, make sure the supporting items in the frame, work with the main subject to enhance it, or explain how to use it, or showcase what compliments it.
Ex. If you are taking photos of jewelry, you would want to shoot close up to the jewelry showcasing the body part and maybe something else complimentary. Earrings maybe are the focus, but you have a hand wiping hair away from the ear with a matching ring. You wouldn’t want a full body photo of the subject wearing the jewelry because it may not be obvious the jewelry is the focus. Make sense?


5. Posing
This paragraph will only scratch the surface for posing. There is SO much to learn on posing, and if you wanna get really good at posing, Sue Bryce (The Portrait System) and Amy and Jordan have amazing posing courses. The biggest thing you want to pay attention to is your subjects energy and expression and position. Do they hold their tension in stiff hands? Raised shoulders? Uncomfortable smile? These are things to watch for. Can’t fix ’em later. So much plays into posing, and it is not just putting hands, feet, shoulders and knees where you want them. A lot has to do with the relationship you have with the subject and their comfort. They need to be confident that you know how to best flatter them with posing.
The best way to get your subject to move their body that will be best flatter them, is to have them mirror you. You get into the pose and guide them with your words and your motions. One of the best ways I have learned posing is through self portraits.
Yep! it’s just as it sounds…I set up my camera on a tripod and play the role of the subject. I move my body, change my expression, stay still, create movement and then take time to really look at the images (the good and the throw aways), and determine why they are good and why they are throwaways. Was the angle wrong and is my chin super prominent? Are my hands awkward and stiff? Is my shoulder too far forward making it bigger than it really is? Perspective is everything. What is closer to the camera will appear larger.
Practicing on yourself can be extremely challenging, but the more you can put yourself in your subjects shoes, the more you will be able to relate to their experience and make it so good they wanna come back again and again.
XO


leave a comment